Build Your Own Pre-Signed URLs
We’ve all used pre-signed URLs. AWS S3 made them ubiquitous. Recently, I tried implementing a pre-signed URL system for a custom storage service.
If you’re building a file storage service, implementing temporary access controls, or just curious about how these “magic links” actually work under the hood, this post walks through the complete implementation.
Why Pre-Signed URLs Matter
Pre-signed URLs solve a specific problem: you want to grant temporary, controlled access to a resource without requiring authentication headers or managing session state.
The beauty is in the statelessness. Your server doesn’t need a database lookup to validate the request. Everything it needs is embedded in the URL itself. This makes pre-signed URLs incredibly fast and horizontally scalable.
The Four Building Blocks
Before we get into implementation, let’s break down the components of a pre-signed URL.
1. The Master Secret
This is a high-entropy 256 bit random key known only to two parties: the Generator (your backend that creates URLs) and the Verifier (the service that serves files).
Think of this as the cryptographic foundation of the entire system. If this leaks, every signed URL you’ve ever issued is compromised.
2. The Payload
The payload contains the constraints of the request. These must be part of the URL itself to prevent tampering.
Typical fields:
file_id: The resource being accessedexp: Expiration timestamp (Unix epoch)version: Key version ID for seamless rotation (optional but recommended)
3. The Signing Algorithm
HMAC-SHA256 is recommended. It’s faster than RSA or other asymmetric algorithms and perfectly suited for internal service-to-service validation where both parties can safely share a secret.
4. The Verifier
This is middleware in your storage service that extracts the payload and signature, checks expiration, re-calculates the signature using the Master Secret, and compares the results using constant time comparison.
Generating the Master Secret
# Generates 32 random bytes as Base64
openssl rand -base64 32

# Generates 32 random bytes as Hex
openssl rand -hex 32
You might be tempted to just type random characters. Don’t !!!
Human “randomness” is predictable. OpenSSL uses a CSPRNG (Cryptographically Secure Pseudo-Random Number Generator) that pulls entropy from unpredictable physical events like keyboard timing, disk I/O, or thermal noise. This ensures that even with massive computing power, an attacker cannot guess your key.
Constructing a Signed URL
The core idea is simple: create a “temporary pass” that proves the user has permission to access a specific file for a limited time.
Building the Signature
Let’s walk through the process step by step.
Step 1: Create the Message
String together the data you want to protect:
Path: /files/video1.mp4
Expiry: 1735689600
Raw String: /files/video1.mp4?expires=1735689600
Step 2: Generate the HMAC
Use your 256-bit Master Secret and SHA-256 to sign that string.
Step 3: Append the Signature
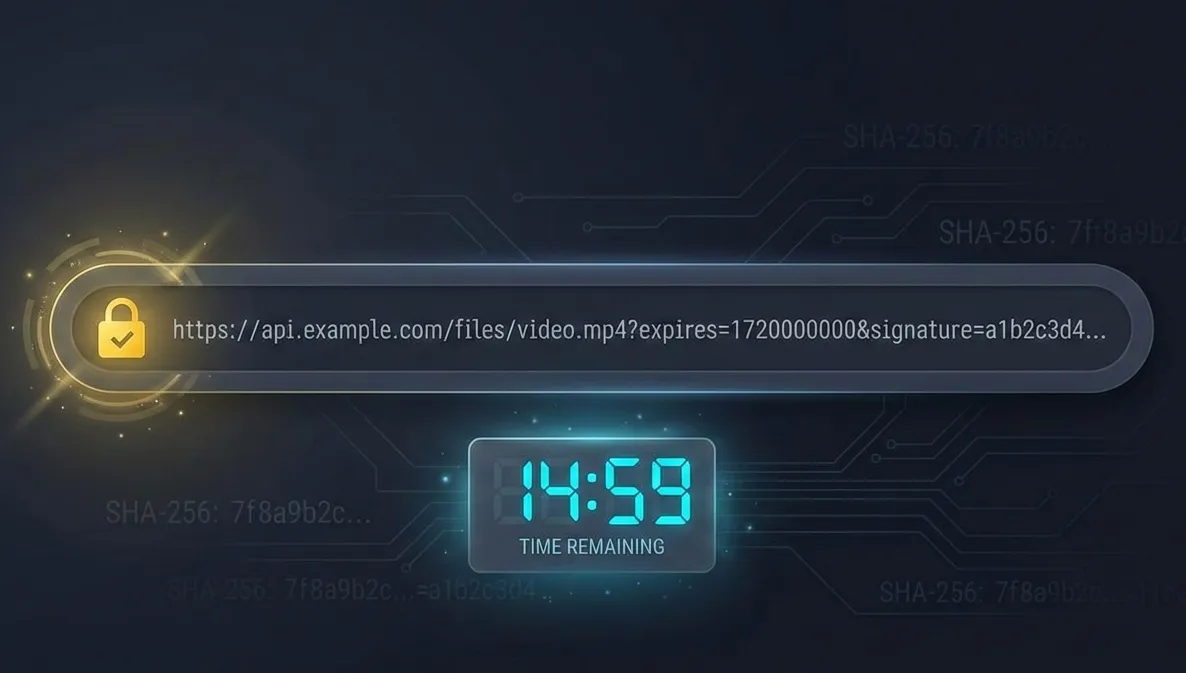
The final URL looks like this:
https://api.yourshop.com/files/video1.mp4?expires=1735689600&signature=a3f9b2...Implementation
Here’s what this looks like in code:
const crypto = require('crypto');

const secret = 'your-256-bit-master-secret'; // Keep this safe!
const filePath = '/files/1';
const expires = Math.floor(Date.now() / 1000) + 3600; // 1 hour from now

// 1. Create the data string
const dataToSign = `${filePath}?expires=${expires}`;

// 2. Sign it using HMAC-SHA256
const signature = crypto
  .createHmac('sha256', secret)
  .update(dataToSign)
  .digest('hex');

// 3. Construct the final URL
const signedUrl = `https://yourdomain.com${dataToSign}&signature=${signature}`;
console.log(signedUrl);
Server-Side Verification
When a user clicks that link, your server needs to verify that it’s legitimate.
The Four Step Verification Process
Step 1: Parse the URL
Extract the three key ingredients:
- The Resource:
/files/video1.mp4 - The Metadata:
expires=1735689600 - The Signature:
a3f9b2...
Step 2: The Freshness Check
Before doing any cryptographic work, check the clock. If current_time > expires, immediately return 403 Forbidden.
This prevents replay attacks where an attacker reuses an old link weeks later.
Step 3: Recalculate the Expected Signature
This is the core of the security. Take the Resource and Metadata from the URL and run them through HMAC again using your Master Secret.
You’re essentially asking: “If I were to generate a signature for this specific file and expiration date right now, what would it look like?”
Step 4: The Comparison
Compare the signature provided in the URL against the expected signature you just calculated.
If they match, the URL is authentic. Nobody tampered with it because only you know the Master Secret. If they don’t match, someone changed the file ID, extended the expiration, or is just guessing. Access denied.
Implementation
Here’s how verification looks in code. Pay attention to the timing safe comparison:
const crypto = require('crypto');

function verifySignedUrl(req) {
    const { path, query } = req;
    const { expires, signature } = query;
    const secret = process.env.MASTER_SECRET; // Your 256 bit key

    // 1. Expiry Check
    const currentTime = Math.floor(Date.now() / 1000);
    if (currentTime > parseInt(expires)) {
        return { valid: false, reason: 'URL Expired' };
    }

    // 2. Re-create the "data string" exactly as during generation
    const dataToVerify = `${path}?expires=${expires}`;

    // 3. Recalculate the expected signature
    const expectedSignature = crypto
        .createHmac('sha256', secret)
        .update(dataToVerify)
        .digest('hex');

    // 4. Timing safe comparison
    const isValid = crypto.timingSafeEqual(
        Buffer.from(signature, 'hex'),
        Buffer.from(expectedSignature, 'hex')
    );

    return isValid ? { valid: true } : { valid: false, reason: 'Invalid Signature' };
}
Why This Approach Is Powerful
Statelessness: Your server doesn’t need to store issued links in a database. It can verify millions of links per second using only the Master Secret and the URL itself.
Tamper Proof: If a user changes file/1 to file/2 in the URL, the recalculated hash won’t match the provided signature.
Scalability: Since there’s no database lookup, you can deploy this logic in Edge Functions (Cloudflare Workers, AWS Lambda@Edge) for lightning fast verification close to users.
Why HMAC Instead of Plain Hashing?
The Problem with Plain Hashing
A standard hash like SHA-256 is a one way function. If you hash the word “Apple,” you always get the same result.
If an attacker knows you’re using SHA-256, they can hash their own messages to create “valid” signatures.
How HMAC Fixes This
HMAC (Hash based Message Authentication Code) is a hash mixed with a secret key.
When you call createHmac('sha256', secret), the algorithm performs a double hashing process:
- Inner Hash: Mix your secret with the message and hash it
- Outer Hash: Take that result, mix it with the secret again (using a different internal pattern), and hash it one more time
This double hashing protects against length extension attacks.
Timing Safe Comparison
Here’s where things get really interesting. Even if you implement HMAC correctly, you can still leak your secret through timing attacks.
The Vulnerability: Short Circuiting
Most comparison operators (==, ===) use short circuiting to fail fast:
Checking signature: abcdefg

Guess 1: zbcdefg. Computer checks 'z' ≠ 'a', stops immediately
Guess 2: abcdefz. Computer checks all 7 letters before failing at the end
In standard programming, this is efficient. In cryptography, this is a vulnerability.
The Timing Attack
An attacker can measure time with nanosecond precision. Here’s how they exploit short circuiting:
- Send signatures starting with
0, then1, then2… - Notice that when the signature starts with
4, the server takes 30 nanoseconds longer - That extra time means the first character matched and the computer moved to the second before failing
- Now they know the first character is
4 - Repeat for each character
By measuring these tiny “time leaks,” an attacker turns a task that should take billions of years (brute forcing a 256 bit hash) into something achievable in hours.
How timingSafeEqual Fixes It
timingSafeEqual forces the CPU to compare every single byte, even if the first byte is wrong:
- Wrong guess at character 1: Takes 100ms
- Wrong guess at character 50: Takes 100ms
- Perfect match: Takes 100ms
Because the time is always identical, the attacker gains zero information from their measurements.
When to Use It
You don’t need timing safe comparison for checking if a username is “Admin.” You only need it for secrets where the value itself is proof of identity:
- HMAC signatures (like our signed URLs)
- API keys
- Password reset tokens
- Any cryptographic comparison
Key Takeaways
- HMAC-SHA256 is the foundation: Combines hashing with a secret key for tamper proof signatures. Its double hashing construction prevents length extension attacks.
- Entropy and timing matter: Generate secrets with CSPRNG (OpenSSL). Always use
crypto.timingSafeEqualfor comparisons because nanosecond timing leaks can break security. - Statelessness = scalability: No database lookups means infinite horizontal scaling and sub millisecond verification.
- Symmetric beats asymmetric here: When both signer and verifier are under your control, HMAC is faster and simpler than RSA.